If you’ve ever been in the market for a new roof, you know that it can be a daunting task. One of the most important aspects is making sure your roof has the right ventilation. This means installing a roof vent, which can seem like an intimidating job if you’ve never done it before. In this article, we’ll talk about how to replace a roof vent and provide tips to help make the process easier. Our other article covers the different types of vents available and their benefits, as well as provides step-by-step instructions for properly installing one in your home or business. So if you need to replace your roof vent or just want to learn more about them, read on.
What is a roof vent?
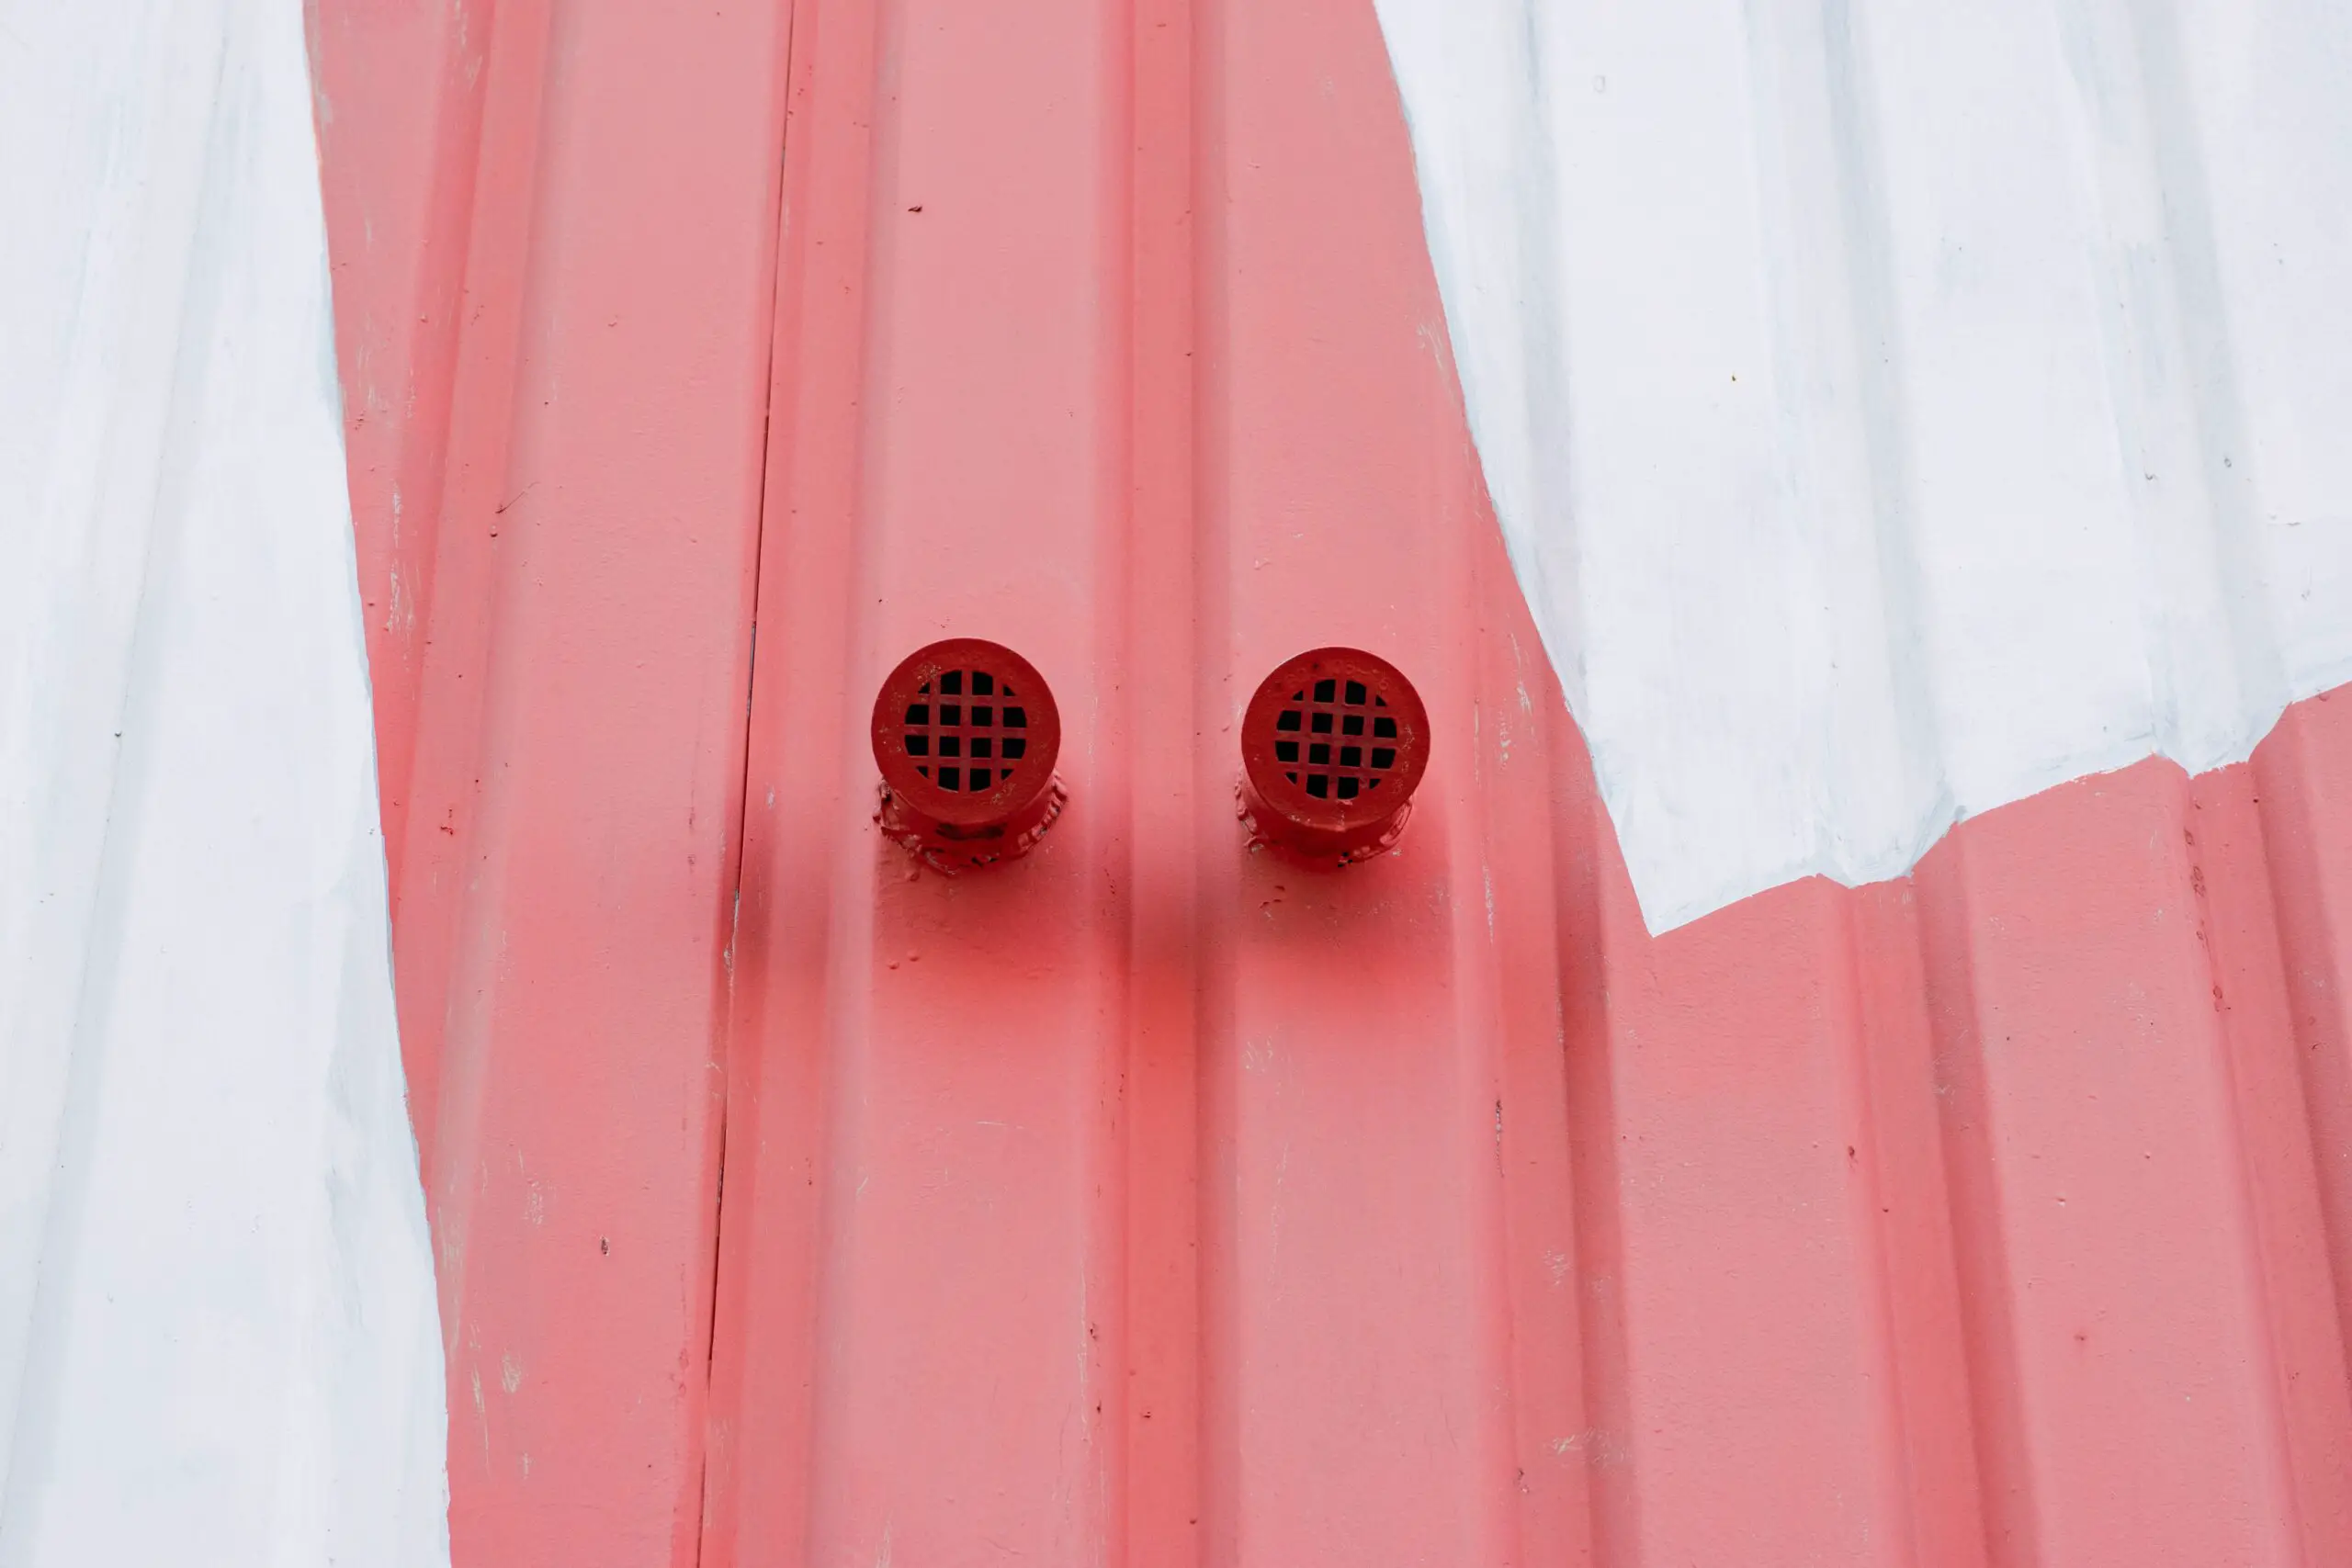
A roof vent is a device installed on a home’s roof that helps to circulate air and keep the attic space ventilated. Roof vents come in many different shapes and sizes, but all serve the same purpose of helping to keep your attic space well-ventilated.
There are two types of roof vents: intake vents and exhaust vents. Intake vents are located at the bottom of the slope of your roof, near the eaves. These vents allow fresh air to enter the attic space. Exhaust vents are located at the top of the slope of your roof, near the ridge line. These vents allow hot air and moisture to escape from the attic space.
It is important to have both intake and exhaust vents in order to create a balanced ventilation system. Without both types of vents, your attic space could become either too hot or too cold, which can lead to condensation and other problems.
If you think that your home’s roof vent needs to be replaced, it is best to hire a professional roofing contractor to do the job. Replacing a roof vent is not a difficult task, but it does require climbing up on your roof, which can be dangerous if you’re not experienced in working on roofs. A professional roofing contractor will have the experience and knowledge necessary to replace your roof vent safely and quickly.
Why you need to replace a roof vent
The roof is one of the most important parts of your home, and it needs to be properly ventilated in order to function properly. If you have an old or damaged roof vent, it’s important to replace it as soon as possible. Here are some of the reasons why you need to replace a roof vent:
In addition to helping with ventilation, roof vents also help protect your home from water damage. By allowing moisture to escape, they can help reduce the amount of moisture that builds up in your attic space and prevents it from leaking into your home:
- To protect your home from water damage: A properly installed and functioning roof vent helps to protect your home from water damage by allowing air to circulate and preventing moisture from buildup.
- To improve the energy efficiency of your home: A well-ventilated attic helps to keep your home cooler in the summer and warmer in the winter, which can save you money on your energy bills.
- To prevent ice dams: Ice dams can form on roofs that are improperly ventilated, causing water to back up and leak into your home. Replacing a damaged or missing roof vent can help prevent this problem.
- To extend the life of your roof: A properly ventilated roof lasts longer than one that is not, so replacing a damaged or missing roof vent can help extend the life of your roof.
Overall, a properly installed and functioning roof vent can help protect your home from water damage, improve energy efficiency, prevent ice dams, and extend the life of your roof. Therefore, it is important to replace a damaged or missing roof vent as soon as possible.
Tools and Materials Needed to replace a roof vent
You will need the following tools and materials to replace a roof vent safely:
- Ladder
- Roofing felt
- Cordless drill
- 1-inch hole saw
- Utility knife
- Roofing cement
- Putty knife
- Trowel
- Pry bar
- Vent
- Screws
- Metal flashing
- Caulking gun
- Chalk line
- Hammer
Tips on how to replace a roof vent
Remove the old vent
To remove the old vent, first, make sure that the power is turned off to the unit. Next, use a screwdriver to remove the screws that hold the vent in place. Once the screws are removed, carefully pull the vent away from the roof. Be careful not to damage the roof as you remove the vent.
Once the old vent is removed, you can inspect and clean up any debris or dirt that has accumulated around the area. Lastly, you can prepare to install the new vent by following the instructions provided with it.
Prepare the Roof for the New Vent
When replacing a roof vent, it is important to first prepare the roof. This includes removing the old vent and any debris from the area. Any surrounding shingles should be cut away and removed as well. The flashing should also be inspected for damage and any repairs made prior to the installation of the new vent. Once the area is prepared, the new vent can be installed in accordance with the manufacturer’s instructions. Once the old vent is removed, you will need to clean up the area around the hole left behind. This can be done with a putty knife and some sandpaper. After the area is cleaned up, you can then measure and cut the new vent to size.
Once the vent is cut to size, you will need to nail down a piece of flashing around its perimeter. Make sure that the nails are placed at least 2 inches from the edge of the vent for proper sealing. You can then apply roofing cement or caulk around the edges of the vent to provide extra protection against water infiltration. Finally, you will need to fasten the vent into place using roofing nails or screws.
Cut the new hole for the replacement
If your old roof vent has seen better days and needs to be replaced, don’t worry, it’s not a difficult task. You’ll just need a few tools and some patience. First, you’ll need to cut the new hole for the replacement. Measure the old vent and mark the center of the new one. Then, use a small saw to cut out the new hole. Be careful not to make the hole too big, as this can cause problems later on.
Installing the new roof vent
Next, install the new vent by following the instructions that come with it. Installing a new roof vent is a fairly straightforward process, but there are a few things you’ll need to keep in mind to ensure a successful installation. First, make sure you have the correct size and type of vent for your needs. Second, be sure to follow the manufacturer’s instructions carefully when installing the vent. And finally, make sure the vent is properly sealed and secured to prevent leaks.
Replacing a roof vent is a straightforward process that can be completed in the afternoon. Be sure to follow the instructions carefully and wear protective equipment when handling hazardous materials such as tar or nails. With a few simple steps, you can save yourself the cost of having someone else do the job f you, and you can be sure that your roof vent is properly installed to keep your home safe. By following these steps, your home’s roof will look better and last longer while keeping energy bills low.
FAQs on how to replace a roof vent
When it comes to replacing a roof vent, there are a few things you need to know in order to do the job correctly. Here are some FAQs that will help you replace your roof vent:
What type of roof vent do I need?
There are two types of roof vents: static and powered. Static vents don’t have any moving parts, so they’re the simplest type of vent to install. Powered vents have a fan that helps move air through the vent, which is helpful if your home has poor ventilation.
How do I measure for a new roof vent?
To measure for a new roof vent, you’ll need to first determine the size of the hole in your roof. Then, add 1/4″ to 1/2″ to that measurement to account for the thickness of the shingles around the hole. Once you have your measurement, select a vent that’s slightly larger than the hole so it can be properly sealed.
What type of sealant should I use?
There are many different types of sealants available, but we recommend using an asphalt-based sealant for this application. Be sure to follow the manufacturer’s instructions for proper application and drying times.
How do I install the new roof vent?
Once you’ve selected and measured your new roof vent, it’s time to install it. Begin by removing any old sealant or caulking around the hole in your roof. Then, place the vent in the hole and seal it with the asphalt-based sealant. Be sure to follow all manufacturer’s instructions for proper installation.
What should I do if I have questions?
If you run into any problems while replacing your roof vent, don’t hesitate to contact a professional roofer for help. They can provide additional guidance and answer any questions you may have about installing your new vent.
